Create Interstitial component
This guided example show how to find a fitting, existing kickstartDS base component for one of your use cases, to repurpose it. Meaning: you start with some requirements, match an existing component, find a fitting new name for the use case, and give it a new purpose by greatly restricting and rewiring its options for the new context.
Even while using the component rather directly from kickstartDS, you'll want to find the correct set of properties for your own use case. Components in kickstartDS come equipped with properties for a wide range of possible use cases, so it makes sense to reduce those to the ones you really need... to make components easier to understand, use and reason about!
We call this type of workflow Creation. Learn more about it in our dedicated guide about it. If you're unsure about something, have a look over there. We go into more background detail there about what we're doing here.
This also means that, for this example, we'll get by without any additional styling needed. We'll live off of everything already set in place by our existing Design Token and component structure.
Overview
More concretely: what we're building up to in this example... and for the sake of imagination, assume this was what your designer cooked up:
This will be done in three simple steps:
- Component Definition,
- Component Mapping, and
- Component Creation
For more details about those steps, have a look at the guide about different component processes and their shared structure.
Requirements
This guide assumes that you already have a working Design System, that is based on kickstartDS, running.
If that's not the case, follow our Create your Design System guide .
Additionally you'll need access to our Content module, to use the Storytelling component this guide is based on.
kickstartDS Content Module
The perfect addition to our Open Source base
1. Component Definition
Purpose
We want to create an element that can be interjected into otherwise monotone content. To direct focus, or present alternatives, to the main body of content.
We'll probably need to be able to define a title and some body content. Additionally, we want to add some flavour to the component by using noticeable design variations, not typically found in our other components.
Adding a static background image to the component could be nice touch!
Finally being able to add a link with a link target (link.target) and and link text (link.text) will be needed, but they should be optional.
Structure
This would leave us with the following properties (API) for our new component. Required fields are marked with a *:
| Property | Type | Description |
|---|---|---|
title * | string | Title to show |
body * | string | Body content to display |
link.target | string | Page to link to |
link.text | string | Text to use for the link |
Fields that should be required are marked with a *.
While directly helping us get a better grasp on our new component, these will also be used to write our JSON Schema later!
2. Component Mapping
Next we want to search for components that could be of use in assembling this new one. This might be a single, big component that more or less directly fits our use case, or alternatively a combination of components that could serve as the basis by combining them.
This will then serve as our kickstartDS base component, which will be adjusted to fit our needs!
Matching it
From a quick glance, our Storytelling component seems like it might fit the bill quite nicely! It has options for a title (box.headline) and body (box.text), supports some RTE-like formatting for our body, and has a wide range of possible design adjustments: mainly background colors & images, an optional foreground image and a bunch of possible arrangements of those.
This would also enable us to add a nice-looking background image to the whole component by using a combination of its attributes backgroundImage and backgroundColor:
For a complete overview of the available options, take a look at the Storytelling component API here:
https://www.kickstartds.com/storybook/?path=/docs/content-storytelling--image
Adjustments
This only gives us a rough sketch, though. We still need to adjust the example code to exactly fit our needs. In the process we will hard-code a bunch of options, because we're only interested in a specific set of them. The rest can be set to default values, which don't need to become part of the component API.

Great components
Sed diam nonumy eirmod tempor invidunt
Start with an existing Storytelling component variant
We'll start by copying the JSX code for the Image variant of our Storytelling component, from here:
https://www.kickstartds.com/storybook/?path=/docs/content-storytelling--image
Remove all of the unneeded stuff
There are a bunch of properties that are completely optional, mainly those having their values undefined or null in the copied JSX, or ones which just state the default value of that property anyway. Those can be freely removed.
We'll also not be utilizing the image, at least for now!
Great components
Sed diam nonumy eirmod tempor invidunt
Hard-code static, required properties
We add nice values for backgroundColor and backgroundImage, invert everything with ks-inverted to make it pop, and change some alignments for the box, as well as make the headline "louder" by styling it as a h1.
Great components
Sed diam nonumy eirmod tempor invidunt
Add some demo content
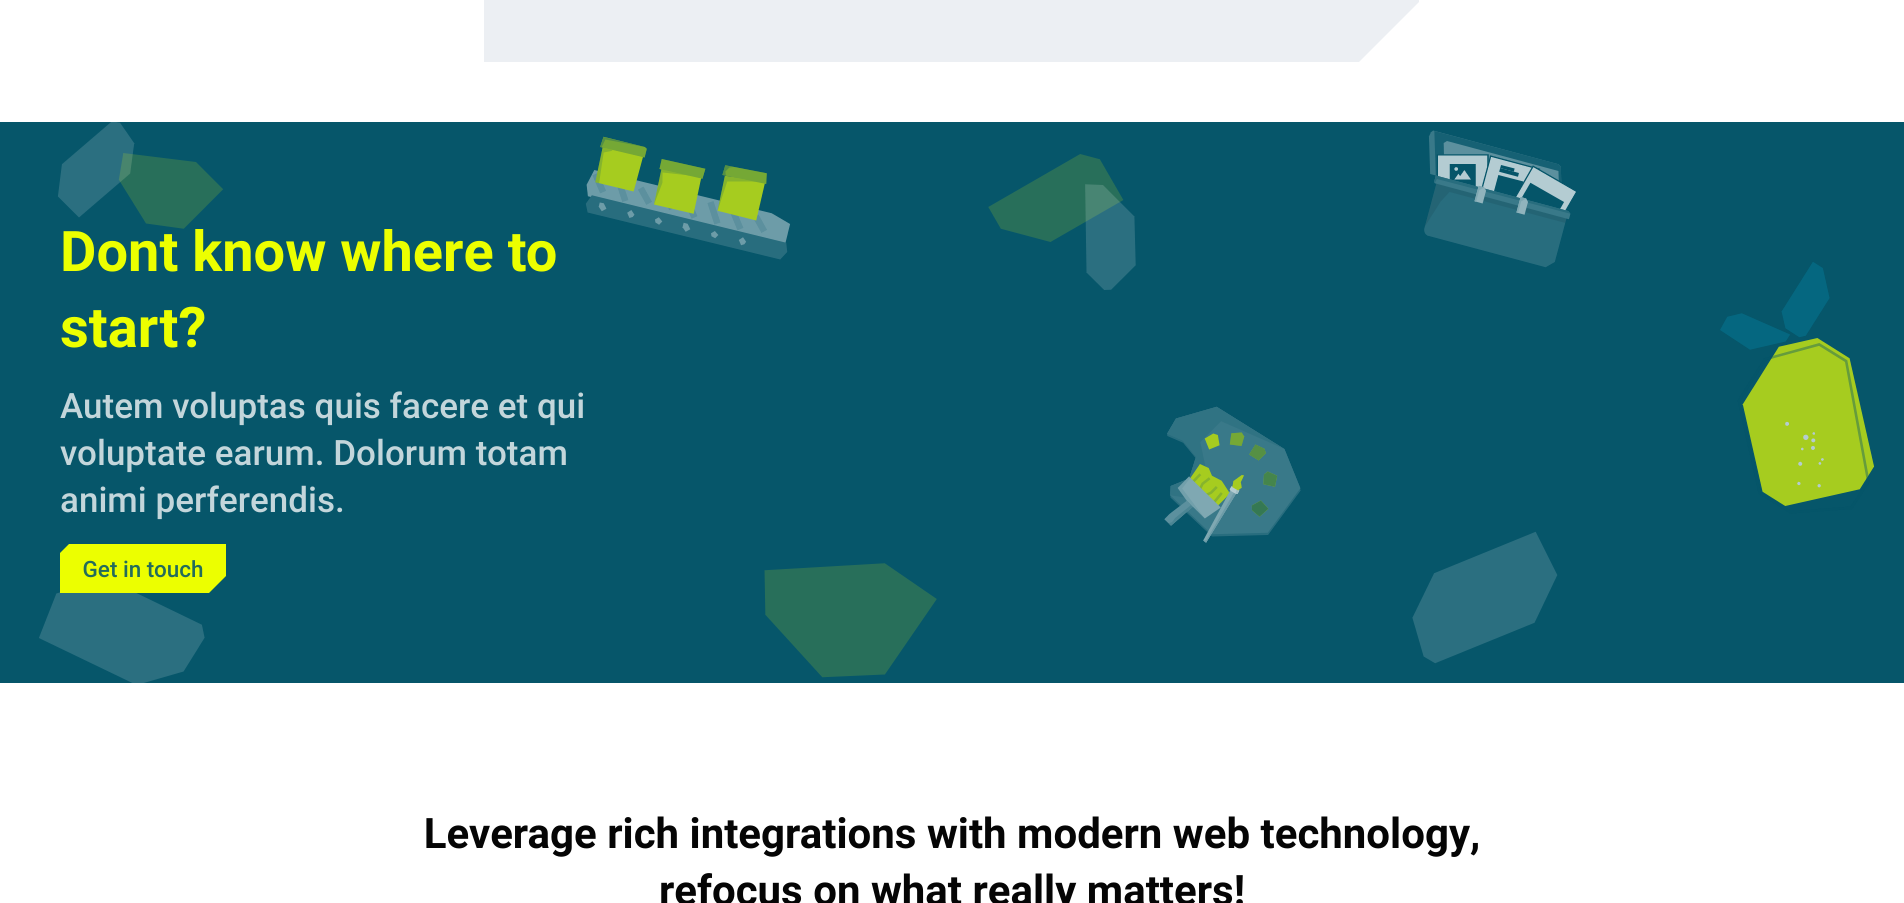
Now we just need to enter some "real" content, and we've successfully recreated what we set out to do in the start. At least for the markup part!
Dont know where to start?
Autem voluptas quis facere et qui voluptate earum. Dolorum totam animi perferendis.
Start with an existing Storytelling component variant
We'll start by copying the JSX code for the Image variant of our Storytelling component, from here:
https://www.kickstartds.com/storybook/?path=/docs/content-storytelling--image
Remove all of the unneeded stuff
There are a bunch of properties that are completely optional, mainly those having their values undefined or null in the copied JSX, or ones which just state the default value of that property anyway. Those can be freely removed.
We'll also not be utilizing the image, at least for now!
Hard-code static, required properties
We add nice values for backgroundColor and backgroundImage, invert everything with ks-inverted to make it pop, and change some alignments for the box, as well as make the headline "louder" by styling it as a h1.
Add some demo content
Now we just need to enter some "real" content, and we've successfully recreated what we set out to do in the start. At least for the markup part!
Great components
Sed diam nonumy eirmod tempor invidunt
With our small component API in place, and this rough sketch for the markup in mind, we can start actually implementing our component!
3. Component Creation
We like to colocate components. This means to have all involved files next to each other in the same folder; the template (.jsx / .tsx), potential CSS / SASS (.css / .scss), JavaScript (.js / .ts), our JSON Schema component definition (.schema.json), and so on.
So we start by creating the directory src/components/interstitial, from our Design System repository root:
_10mkdir -p src/components/interstitial
This is the folder we'll add new files to in the coming few paragraphs.
JSON Schema definition
First file we'll create is the JSON Schema definition, encoding the structure we've defined for our component before:
Finished JSON Schema
We'll work our way up to this JSON Schema definition.
Start with just the boilerplate for a component definition
This includes all necessarily required values for a valid component definition in kickstartDS.
To learn more about our use of JSON Schema, read our Foundations page about it.
Add basic info describing component
We start by adding a title, description and $id attribute. The correct $id depends on your Design System configuration. We'll assume you've created components before, living under the schema prefix http://schema.mydesignsystem.com.
Create title and body fields...
Both fields are straight-forward string type properties, so we just document them a bit!
We do mark them by setting format to markdown, though, which enables light RTE functionality in its rendering later on.
... and make them required
We declare both properties as required!
Add object to hold link properties
This will hold our properties target and text. We add them to their own object to indicate that they're used to be together, thus hinting at their combined usage.
Add target and text to link property
Finalizing our JSON Schema, we add the two last link sub properties target and link, both again simple string types.
Finished JSON Schema
Let's have a look at our completed JSON Schema definition.
Finished JSON Schema
We'll work our way up to this JSON Schema definition.
Start with just the boilerplate for a component definition
This includes all necessarily required values for a valid component definition in kickstartDS.
To learn more about our use of JSON Schema, read our Foundations page about it.
Add basic info describing component
We start by adding a title, description and $id attribute. The correct $id depends on your Design System configuration. We'll assume you've created components before, living under the schema prefix http://schema.mydesignsystem.com.
Create title and body fields...
Both fields are straight-forward string type properties, so we just document them a bit!
We do mark them by setting format to markdown, though, which enables light RTE functionality in its rendering later on.
... and make them required
We declare both properties as required!
Add object to hold link properties
This will hold our properties target and text. We add them to their own object to indicate that they're used to be together, thus hinting at their combined usage.
Add target and text to link property
Finalizing our JSON Schema, we add the two last link sub properties target and link, both again simple string types.
Finished JSON Schema
Let's have a look at our completed JSON Schema definition.
This concludes creating the JSON Schema. When running the schema generation in our Design System again, we should now automatically end up with a corresponding type definition to be used in creation of the template in the next step:
How your schema generation is started might change depending on your setup. If you've followed our "Create your Design System" guide before, or want to add it like we do, follow this section of it closely.
React Template
As the final step for this example, we'll add the template. This will be a purely functional React component, mapping our component structure (as defined in the JSON Schema) to the original component we're basing our work off of; the kickstartDS Storytelling component.
Finished React template
We'll work our way up to this React template.
Start with a boilerplate
Again we'll start with a very basic skeleton for our React component. We're using TypeScript here (.tsx), but it works the same with plain JSX (.jsx).
Add correct typings
Import and add generated props from InterstitialProps.ts. Generated by our JSON Schema, these guarantee you're matching your expected component structure while implementing. In combination with TypeScript this enables auto-complete and auto-fix for even better DX! (see here, at the very end of that section, for more details)
Destructure props
We also need to add our own properties, so we'll destructure props. We'll just pass through everything HTMLDivElement related!
While at it, some dummy markup for our properties is added.
Add Storytelling component
Now we'll import the kickstartDS Storytelling component. To start, we'll use the exact markup we've generated before.
Connect props
Finally we connect our props to the Storytelling component accordingly.
Finished React template
Let's have a look at our completed React template.
Finished React template
We'll work our way up to this React template.
Start with a boilerplate
Again we'll start with a very basic skeleton for our React component. We're using TypeScript here (.tsx), but it works the same with plain JSX (.jsx).
Add correct typings
Import and add generated props from InterstitialProps.ts. Generated by our JSON Schema, these guarantee you're matching your expected component structure while implementing. In combination with TypeScript this enables auto-complete and auto-fix for even better DX! (see here, at the very end of that section, for more details)
Destructure props
We also need to add our own properties, so we'll destructure props. We'll just pass through everything HTMLDivElement related!
While at it, some dummy markup for our properties is added.
Add Storytelling component
Now we'll import the kickstartDS Storytelling component. To start, we'll use the exact markup we've generated before.
Connect props
Finally we connect our props to the Storytelling component accordingly.
Finished React template
Let's have a look at our completed React template.
This concludes the creation of our new Interstitial component. It's now ready to be used inside your Design System, and available to your down stream consumers... hopefully efficiently closing a gap for them!
Finished Code Sandbox
Play around with your new component directly in a Code Sandbox below: